Locations
Locations are the shelves, bins, racks, or rooms packages get stored in. This screen lets you create them and see what's currently stored at each one.
Accessing Locations
In the sidebar, click Inventory → Locations.
Browsing Locations
Locations are shown as cards in a grid, each with its Location ID, description, barcode, and a live count of packages currently stored there. A default location (if one is set) and any location type are shown as badges.
Click any card to open a details drawer showing:
- The location's barcode, type, and parent location
- Whether it's the default location
- Every package currently placed there, with who scanned it in
Creating a New Location
- Click New Location.
-
Fill in the form:
Field Notes Location ID Required. The name you'll see and search by. Barcode Optional — leave blank to have one generated automatically. Description Optional free text. Type Optional free text (for example, "Shelf" or "Bin"). Parent Location Optional — nest this location inside another one. Capacity (Quantity / Weight) Optional, for your own reference. -
Click Save.
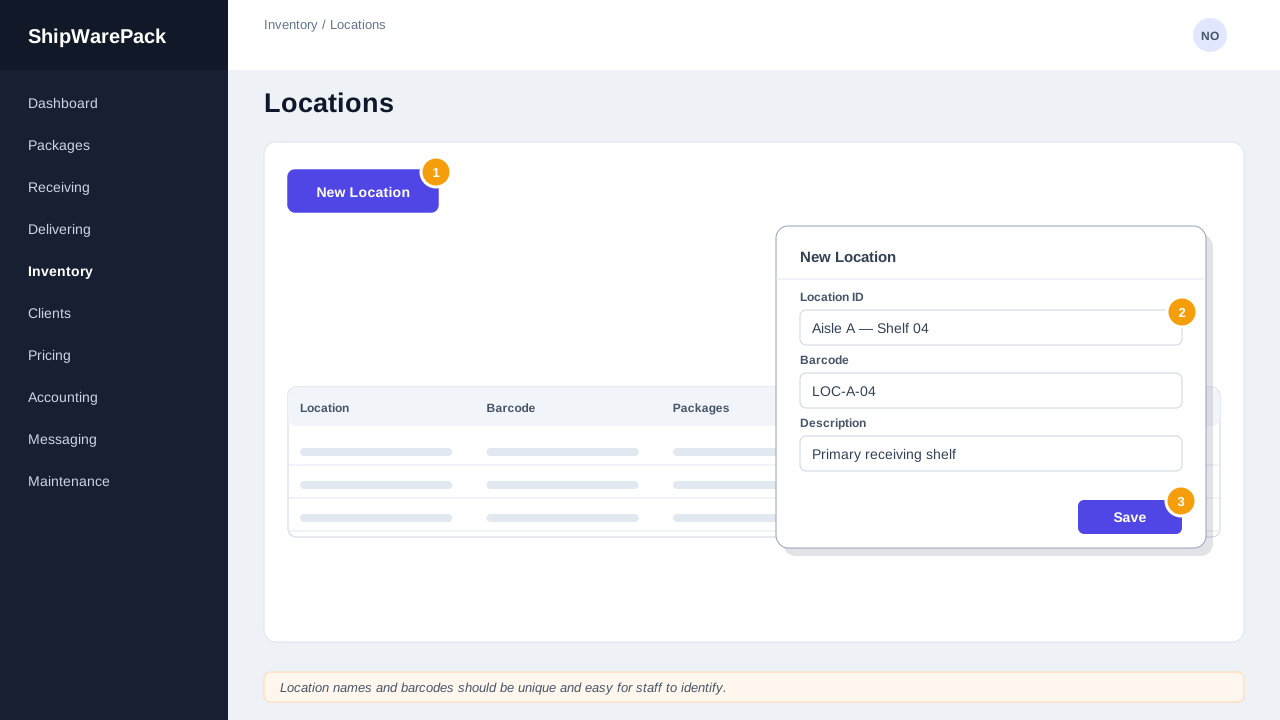
The new location appears immediately in the grid.
What does 'default location' mean?
The default location is typically where packages land automatically before being sorted elsewhere. A default location cannot be deleted.